Best Practices: Installing Ridge Cap for Corrugated Metal Roof
Best Practices: Installing Ridge Cap for Corrugated Metal Roof
Wondering how to install a Ridge Cap for Corrugated Metal Roof? A ridge cap seals the roof peak, prevents leaks, and boosts longevity. This guide covers everything you need to know for an effective installation.
Key Takeaways
- Ridge caps are essential for protecting corrugated metal roofs from weather elements and preventing leaks, with options for vented and non-vented types based on airflow needs.
- Cost factors for ridge caps include material type, gauge, and project size, with average prices ranging from $2.00 to $3.50 per lineal foot, affecting budgeting decisions.
- Proper installation techniques, including alignment, marking with a chalk line, and securing with foam closures, are crucial for ensuring a watertight and aesthetically pleasing finish in metal roofing.
Understanding Ridge Caps for Corrugated Metal Roofs
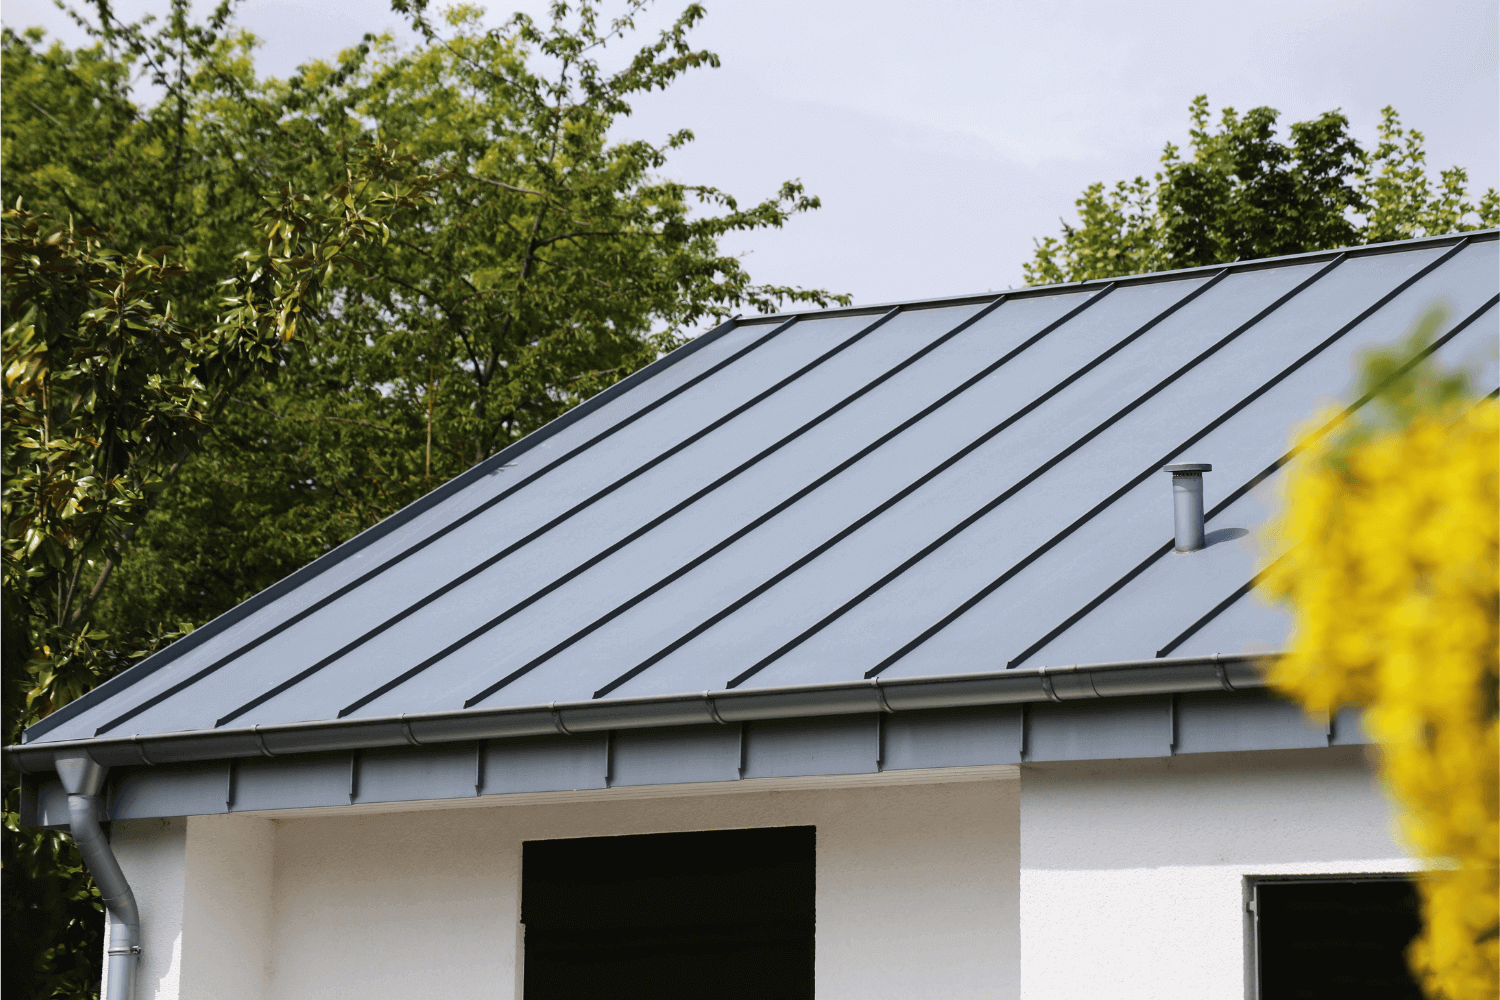
Ridge caps are the final pieces of trim placed at the peak where two roof slopes meet, acting as a protective barrier against weather elements like rain and wind. They are essential for the durability and longevity of your metal roofing, as they shield the ridge, which is the most vulnerable part of the roof. A properly installed ridge cap keeps your roofing system watertight and secure, preventing leaks and potential damage.
There are two main types of ridge caps: vented and non-vented. A vented ridge cap, such as those that use ProfileVent®, allows for better airflow, reducing moisture buildup and promoting a healthier roofing system. In contrast, non-vented ridge caps focus solely on sealing the peak without providing additional ventilation. Understanding the differences between these types will help you choose the right ridge cap for your specific roofing needs.
Cost Factors of Ridge Caps for Metal Roofing
Cost is a significant consideration when planning to install a metal roofing ridge cap. Prices vary based on the type of metal used, with steel options like galvanized or galvalume ranging from $1.50 to $3.50 per square foot. Additionally, the gauge of the metal affects pricing; heavier gauges such as 24 gauge can be up to 40% more expensive than lighter gauges like 26 gauge. Paint finishes also play a role, with high-quality PVDF coatings typically costing 30% to 40% more than standard SMP finishes.
The size of your project influences overall costs as well. Larger jobs tend to have lower material costs per square foot compared to smaller ones. The average cost per lineal foot for a ridge cap is between $2.00 and $3.50. This pricing can vary based on specific factors.
Understanding these cost factors helps you budget for your project and choose materials that meet your financial and aesthetic requirements.
Essential Tools and Supplies for Installing Ridge Cap
Before you start installing a metal roofing ridge cap, gathering the right tools and supplies is crucial. Essential items include a ladder for safe roof access, a carpenter pencil for marking precise locations, and a caulk gun for applying sealant. A drill with magnetic drill bits is indispensable for holding screws in place, and metal screws with sealing washers are necessary to secure the ridge caps adequately. Metal snips will help you cut excess metal pieces, ensuring a clean fit.
Preparing the roof panels by cleaning them ensures proper adhesion of the ridge cap. For non-vented installations, apply butyl tape sealant along the chalk line before placing foam closures.
Refer to the manufacturer’s instructions and comply with local building codes to avoid common installation errors and ensure a reliable roofing system.
Preparing Your Roof Panels for Ridge Cap Installation
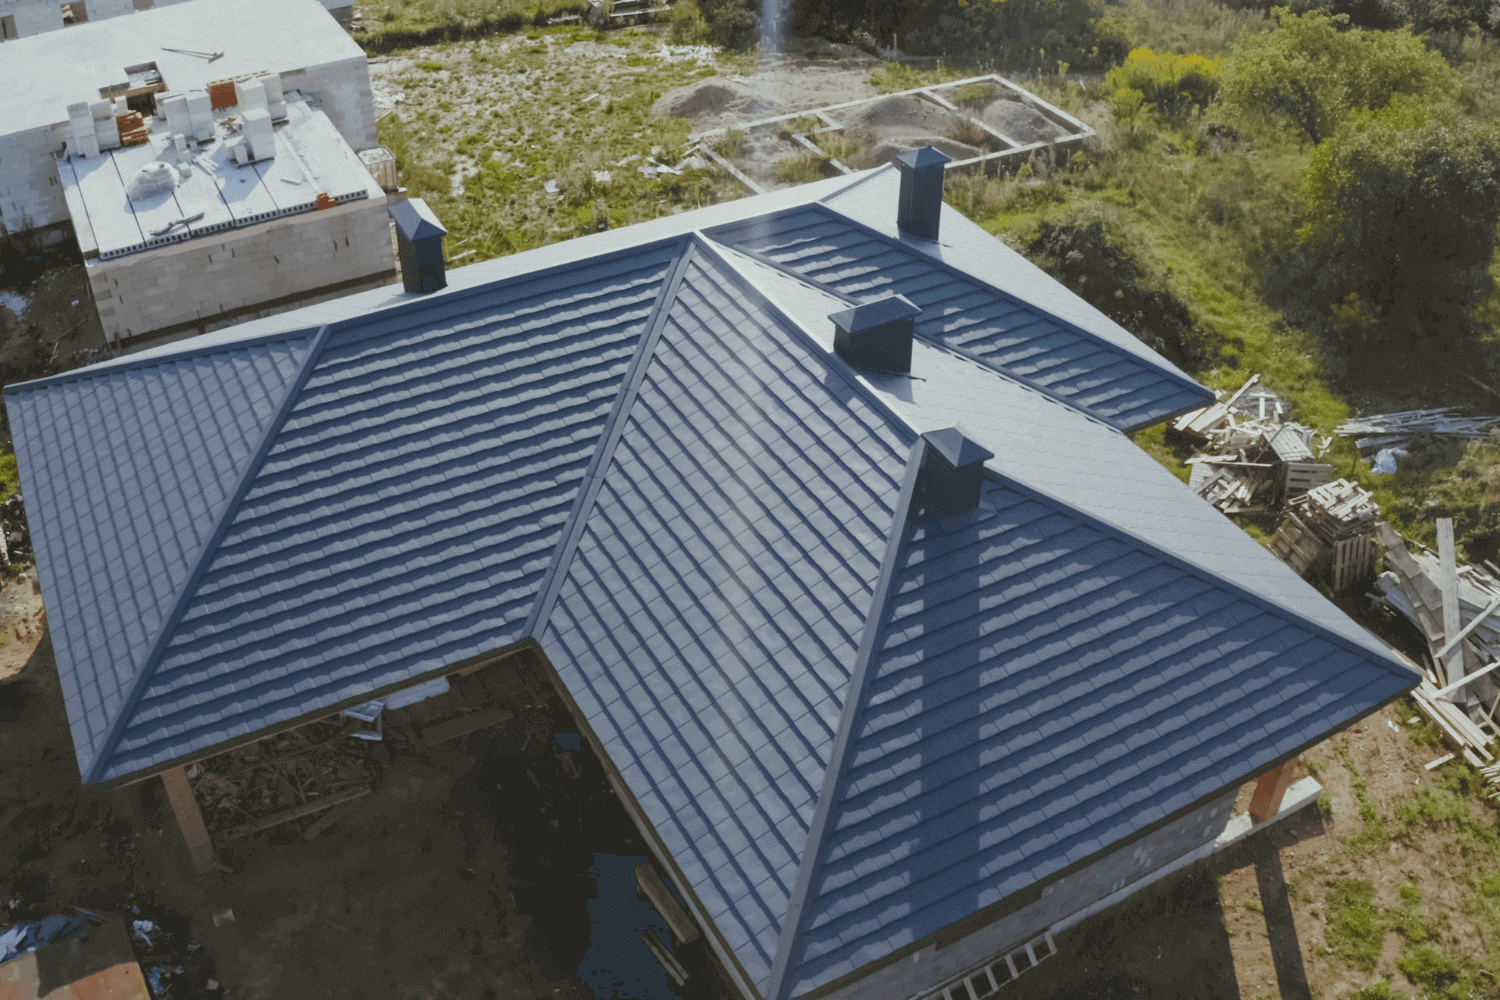
Properly preparing your roof panels, including ensuring correct alignment and using a chalk line to mark precise locations, is critical for a successful ridge cap installation.
These preliminary steps set the stage for a professional and effective installation.
Aligning Roof Panels
Aligning your roof panels ensures a clean and professional finish. Panels should be even along the eaves, flush at the eaves, and maintain a 2-inch gap at the peak to prevent water infiltration and ensure straightness.
Correctly aligned roofing panels enhance the visual appeal of your roof, ensure a snug fit for the ridge cap, and provide maximum protection, preventing future maintenance issues and prolonging the roof’s life.
Marking with Chalk Line
Using a chalk line is one of the most effective ways to ensure accurate placement of your ridge cap. Marking the centerline along the roof peak creates a guide for correct ridge cap positioning, enhancing precision and appearance.
A chalk line also outlines where closure strips will be placed, ensuring consistent spacing and alignment for a cleaner, more professional look. Using a chalk line prevents mistakes and saves time during installation.
Cutting and Finishing Ridge Cap Ends
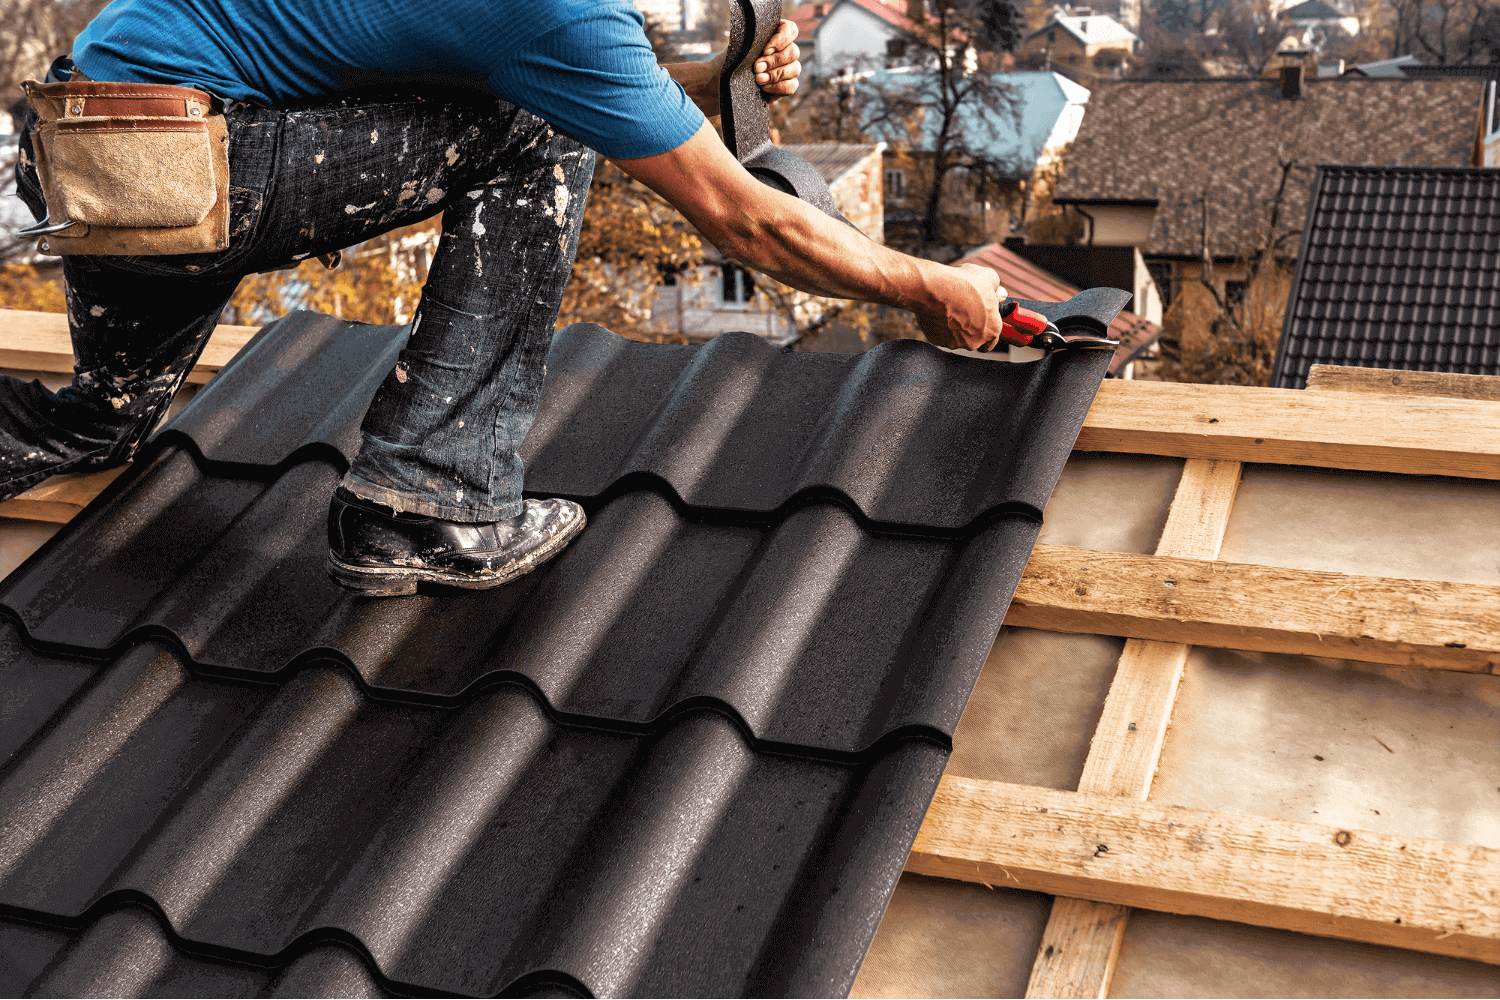
Cutting and finishing the ends of your ridge cap is a detailed task that requires precision. Start by making a one-inch mark on the outside of the ridge cap and prying open the hems within that mark. Then, cut away one inch of the hem on both sides. Using a speed square aligned to the roof’s pitch, mark a straight cutting line on the ridge cap before making the cut.
After cutting, fold the uncut side down 90 degrees and the cut side up 90 degrees for a proper finish. This technique ensures the ridge cap fits snugly and securely, providing a clean and professional look.
Finishing the ridge cap ends properly is essential for both functionality and appearance, giving it a clean edge.
Installing Ridge Cap Foam Closures
Foam closure strips play a vital role in sealing your ridge cap installation. They create a barrier that prevents water infiltration and enhances the overall security of the roof.
Depending on whether your installation is vented or non-vented, the process for installing these closures will vary.
Non-Vented Ridge Cap Installation
For non-vented ridge cap installations, foam closure strips are essential. Apply sealant tape along the ridge, about one inch above the chalk line, before placing the closure strips. This ensures a secure fit and prevents water infiltration. Position the closure strips along the full length of the ridge, making sure they are 1/4 inch above the chalk line.
Skipping the vented step, the closure strips should be installed carefully to ensure a tight seal. This step maintains the roof’s integrity and prevents potential leaks and damage.
Vented Ridge Cap Installation
Installing a vented ridge cap involves using a ridge vent like ProfileVent® to enhance airflow and moisture control. This type of installation is beneficial for reducing moisture buildup and promoting a healthier roofing system. Begin by placing the ridge vent along the ridge line, ensuring it is positioned correctly for optimal airflow.
Vented ridge caps provide superior ventilation compared to non-vented options, making them ideal for areas with high humidity or significant temperature fluctuations. Proper vented ridge cap installation ensures an efficient and long-lasting roofing system.
Overlapping Ridge Caps on Larger Roofs
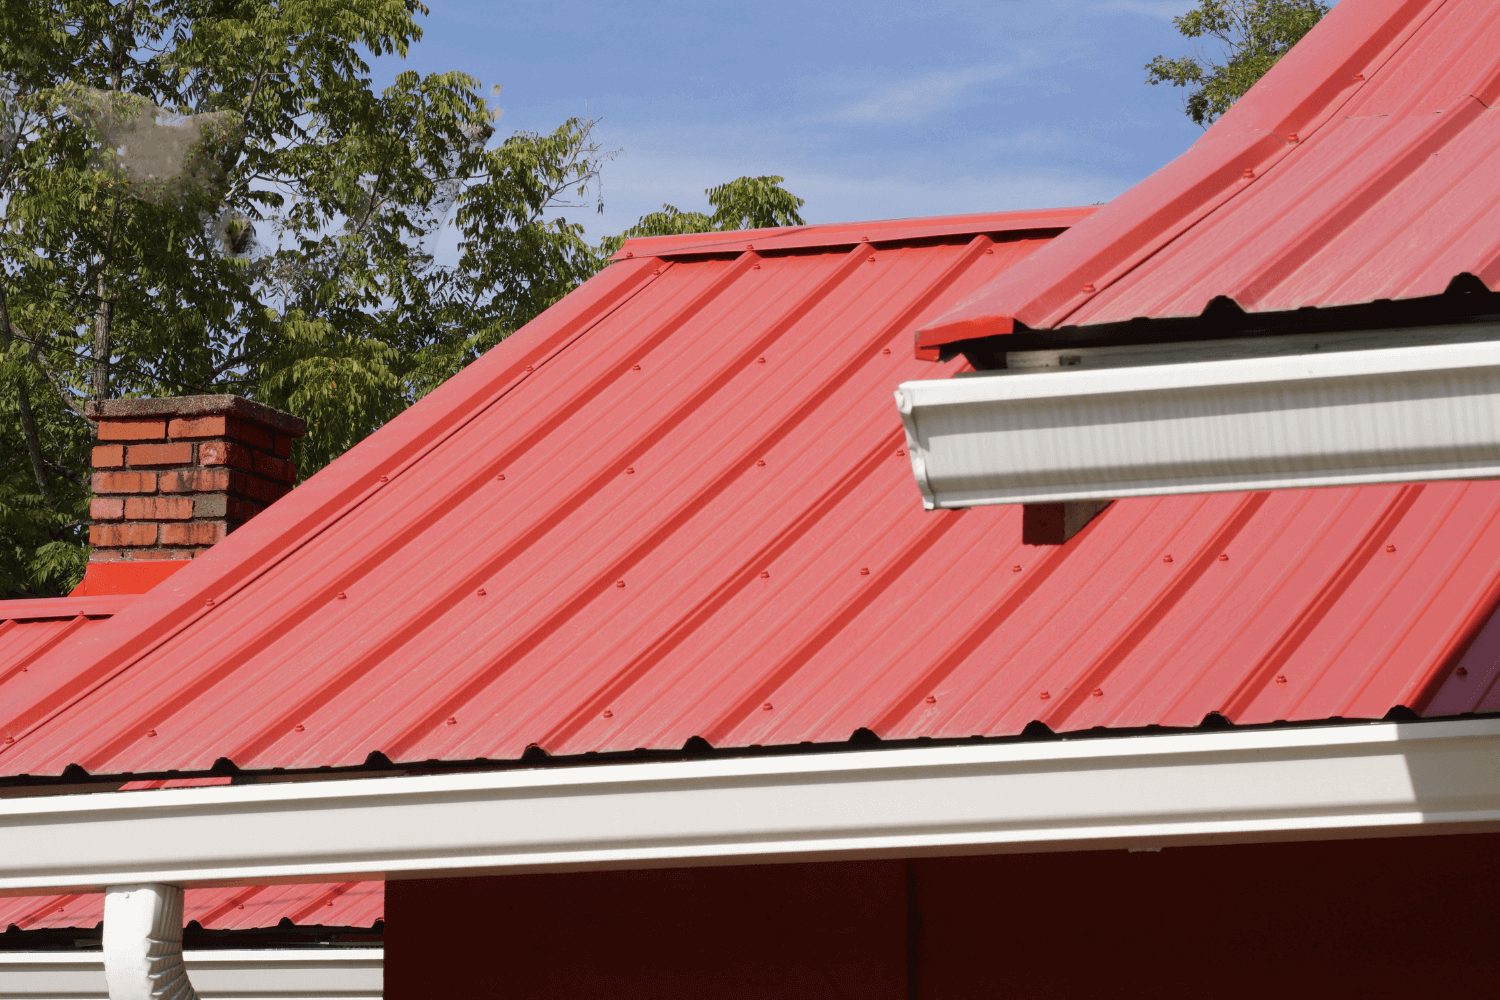
For larger roofs, overlapping ridge caps is essential to ensure proper coverage and protection. The overlap length should be six inches to provide adequate coverage and prevent water infiltration. When cutting the last piece of ridge cap, account for the six-inch overlap and an additional inch for preparation of the end.
Applying silicone sealant two inches from the inside of the overlap helps secure the ridge caps and enhances water resistance. Make sure the overlaps are facing away from the main sight line, such as the driveway, to maintain a clean appearance.
Overlapping ridge caps correctly is crucial for larger roofs to ensure continuous protection and a professional finish.
Fastening Ridge Cap to Roof Panels
Fastening the ridge cap to the roof panels requires precision to ensure watertight joints along the ridgeline. For non-vented ridge caps, use foam closure strips to prevent water infiltration and secure the ridge cap. It’s essential to cover exposed nail heads with roofing cement after installation to protect against potential leaks.
When installing the ridge cap, fasteners should penetrate through the center of every second major rib of the roof panels. This ensures a secure attachment and prevents the ridge cap from shifting or coming loose. Fastening the ridge cap correctly is critical for maintaining the roofing system’s integrity and longevity.
Tips for Ensuring a Secure and Aesthetic Finish
To achieve a secure and aesthetically pleasing finish, attention to detail is key. Trimming the unexposed parts of ridge cap shingles enhances the visual appeal while protecting the peak of roofs.
Start the installation at the end opposite the prevailing wind direction to improve wind resistance. Overlapping the ridge cap shingles slightly ensures complete coverage and prevents water infiltration. Using roofing cement to secure the shingles creates a watertight seal and adds an extra layer of protection.
These tips ensure your ridge cap installation is functional and visually appealing.
Additional Resources for Metal Roof Installation
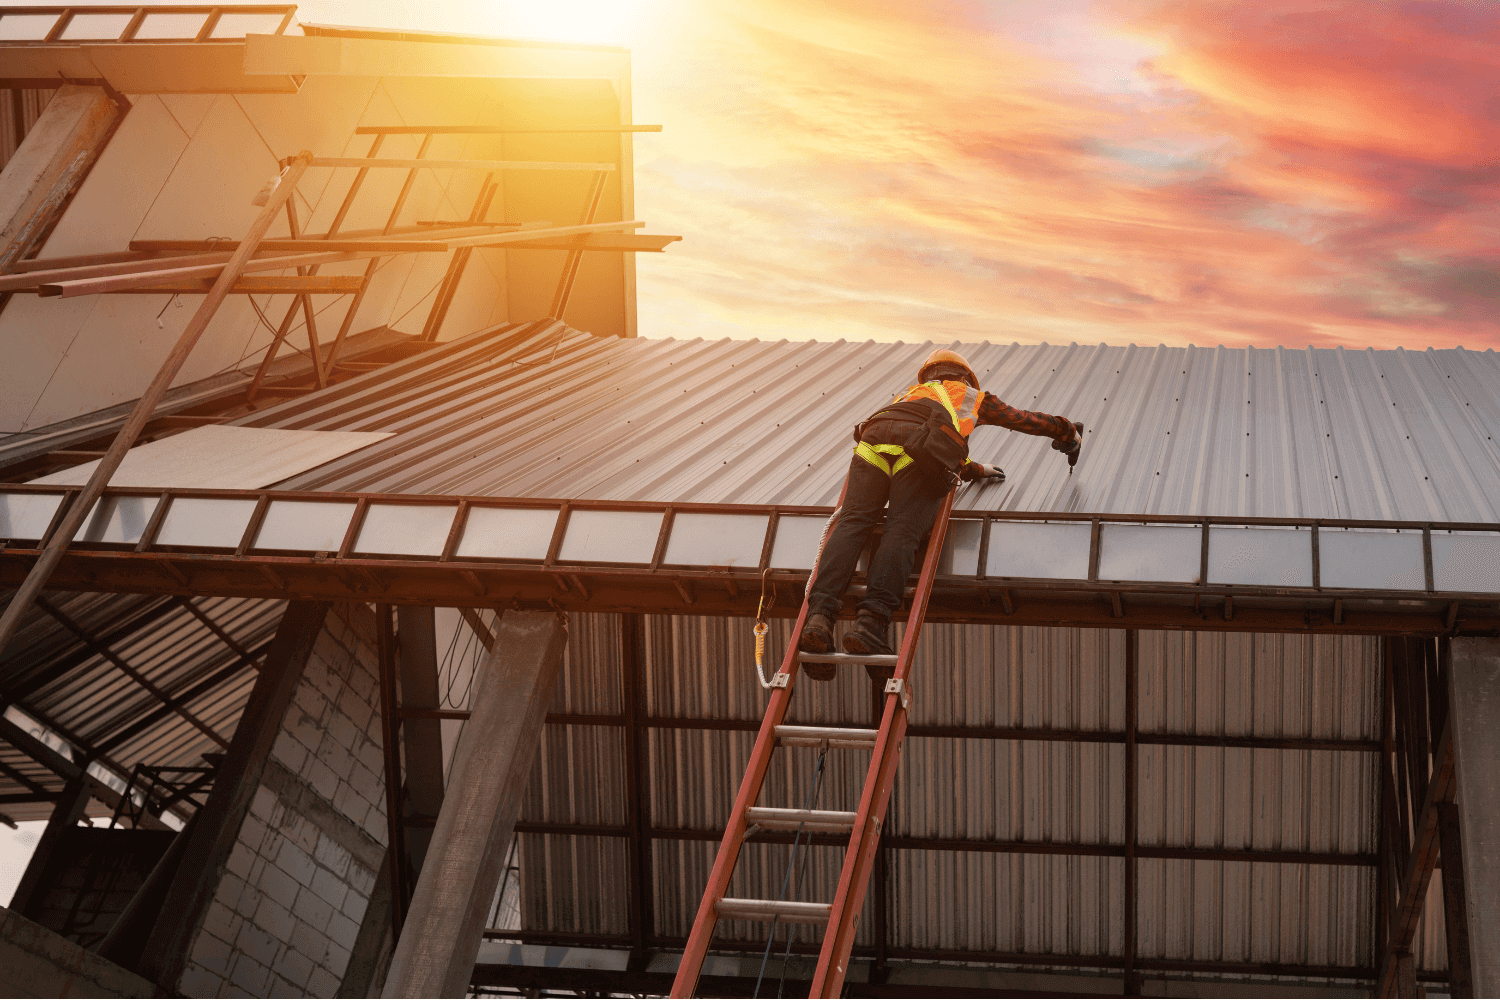
Additional resources can be incredibly valuable for those looking to delve deeper into metal roof installation. Instructional videos offer visual guidance on preparing ridge cap edges, while articles and online resources further enhance your understanding and skills.
Regular maintenance and inspections identify and fix issues early, prolonging the ridge cap’s lifespan and maintaining its aesthetic quality. Using these resources ensures a high-quality installation and keeps you informed about best practices and new techniques in metal roofing.
Summary
In conclusion, installing a ridge cap for a corrugated metal roof involves several critical steps, from understanding the types of ridge caps to preparing roof panels, cutting and finishing ridge cap ends, and ensuring a secure and aesthetic finish. Each step is essential for protecting your roof from the elements and enhancing its longevity.
By following the guidelines and tips provided in this guide, you can achieve a professional-looking installation that stands the test of time. Proper installation not only secures your roof but also adds to its visual appeal, ensuring a beautiful and durable roofing system.
Frequently Asked Questions
What is the purpose of a ridge cap on a metal roof?
A ridge cap is essential for protecting the peak of a metal roof from weather elements, ensuring a watertight seal and enhancing the roof’s durability. Investing in a quality ridge cap will extend the life of your roof.
How much does a metal roofing ridge cap cost?
A metal roofing ridge cap typically costs between $1.50 and $3.50 per square foot, with an average price of $2.00 to $3.50 per lineal foot. It’s important to consider factors like metal type and finish when estimating your total expenses.
What tools are needed for installing a ridge cap?
To install a ridge cap effectively, you will need a ladder, a carpenter pencil, a caulk gun, a drill with magnetic bits, metal screws with sealing washers, metal snips, and cleaning supplies. Having these tools on hand will ensure a smooth installation process.
How do you ensure the ridge cap is installed correctly?
To ensure the ridge cap is installed correctly, focus on proper alignment of the roof panels, mark accurately with a chalk line, utilize foam closures, and adhere strictly to the manufacturer’s instructions. This approach will yield optimal results.
What are the benefits of using a vented ridge cap?
Using a vented ridge cap improves airflow and minimizes moisture buildup, leading to a healthier and more efficient roofing system.
 574-318-3326


